Analytics Blog
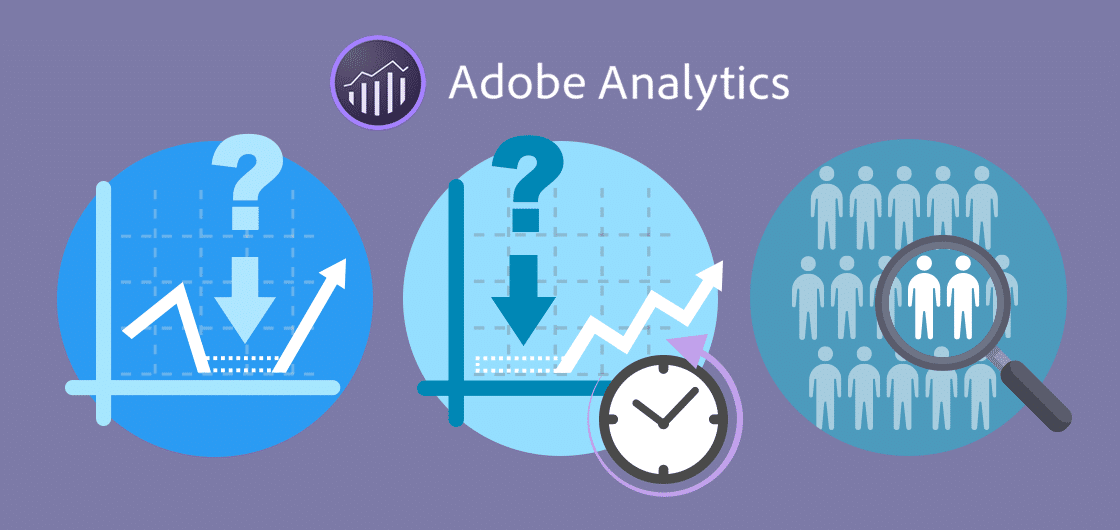
3 Problems Solved by Adobe Analytics Calculated Metrics
As an analyst, you are at the mercy of your implementation. If something breaks or was not scoped out in the initial implementation, analysis stops. When analysis stops, valuable insights are hard to come by.
When I find myself in these situations, I turn to one of my favorite features of Adobe Analytics: the calculated metrics builder.
With a combination of segmentation and advanced calculations, calculated metrics can help you solve problems of broken variables and missing data, plus generate reports previously only available by exporting data outside of Adobe Analytics.
Let’s go through three common problem scenarios and how calculated metrics can be used to solve them.
Bridging Gaps in Data
Problem 1: Data Flatline
You’ve been planning a new site launch for months. In the production environment, everything looks ship shape and ready to go. However, something changed between the production environment and the live site just before launch, so this happened:

Once you have found the problem and fixed it, the data is now flowing correctly but leaves you with a gap. At this point, you’d probably just cut your losses and fondly remember The Great Flatline of May 10th.
Solution: Fill in the Gaps
The first step is to find another metric that trends similarly to the one that broke.
Go to the page and click on the link. Are there any other variables that fire on that hit that you can use? You can use any combination of events, eVars or props to find a proxy for the broken event.
For example, maybe every time that link is clicked it takes you to a page with a specific query string parameter. If you are capturing the full URL in a prop and/or eVar (highly recommended) then you can use that as your proxy. If you have Activity Map set up, you could use the activity map link names. You may need to experiment with different combinations.
 Once you think you have found something, set up a segment in the segment builder that reflects what you have found. For example, if you were using an instance of a Page URL eVar with a specific query string parameter, your segment might look like this:

Whatever it may be, go into Analysis Workspace and put them both on a trend line. If you’re lucky, you will have come up with a metric that looks like this:

But sometimes you won’t be able to find an option that works out perfectly and you’ll have to settle for something like this:

Either situation will work. It is important to remember that this metric isn’t meant to be a source of record, it is just something to help fill in the gaps for trending purposes.
Once you have found your metric, grab 200 days (or as many as you can, based on the implementation) of data for both metrics and download the data as a .csv file.
Open up the .csv and run a quick calculation dividing your proxy event by the actual event:
Finally, get an average of those numbers:

Once you have this number, open up the calculated metric builder and take your proxy event/segment combination and divide it by this average number:

The result is an unbroken event that you can use in dashboards and reports when you need to analyze data over that specific time period:

Going Back in Time
Problem 2: Untracked Conversions
Someone from the marketing team lets you know that there is a group of important links that are present on some blog pages. Any time a user clicks on these links it means $10 for your company (once per visit), so it is important to track this conversion.
Oh, and one more thing — she needs to know how those links have performed since May 1st. And now it’s June. Had you known about this back in April, you could have set up a currency event to increment $10 every time someone clicked a link and then set it to fire only once per visit.
Now, unless you have a DeLorean in the break room, that ship has sailed.
Solution: Build Metrics
The first step is to go to the website and click on the links that you need to track for the marketing team.
Much like you did above, you are looking for something unique that you can use as a proxy for each of the important links. For this particular client, we have Activity Map set up, which identifies links that are clicked even if you have not specifically tagged them with any custom variables.
Once you have identified each of the links and what they are tracked as in Activity Map, you can use the corresponding “Activity Map Link” and “Activity Map Page” dimensions in Adobe Analytics to make a segment that looks like the following:

It is important to be as specific as possible in this segment to make sure we are only capturing the clicks on these links. For this reason, use both the Activity Map page dimension and the Activity Map link dimensions to specify the hit of each link.
Once this segment is created, go into the Adobe Analytics calculated metrics builder and use it to make the following segmented metric:

Add the segment you just created and then add the “Activity Map Link Instances” metric within the segment. You can then multiply it by a static number. We wanted each link click to represent $10, so we will multiply by 10 and turn it into a currency format. We can see the metric is working as of the day we implemented Activity Map.
You can use this metric in all of your other Adobe Analytics audits and reports to see what traffic sources are bringing in more clicks to those specific links.
Reporting Unique Variables
Problem 3: Unique Reporting Requests
Your boss would like to see the total number of Reward IDs that have logged in this month compared to last month. It is important to note that rather than seeing unique visitors, he is interested in seeing unique Reward IDs, knowing that many users log in from multiple devices. Now, of course you can get this data in a number of ways, but you already have an Analysis Workspace project report that you send out every week and this would be a perfect number to add to the top of that dashboard.
Solution: Amaze Everyone
In this situation, we are capturing Membership ID in an eVar whenever the user logs in. This means that if we go into Analysis Workspace and add the Membership ID eVar, the number of rows is equal to the number of individual Membership ID’s that have logged in given the time period.
Open up Analysis Workspace and add your Membership ID eVar with visits as the metric:

The resulting table will give you a list of all of the Membership ID’s that have visited the site and were logged in. The number we are really interested in is the total number of rows:

We now want to create a new calculated metric that counts the number of rows in a report. However, we don’t want to include the “None” row, so we’ll make sure it says the row count – 1:

Drag this newly created metric onto the Freeform Panel:

Next, find the two date ranges you want to compare: Last Month and 2 Months Ago. Take these two date ranges and replace “Rewards Membership ID”:

Now we want to break down each of these date ranges by “Rewards Membership ID”:

We can now see that last month we had 69,523 members log in, which is up from 58,206 the previous month. If we select a number from two months ago and a number from last month we can right click and say “Summary Change”:

The result will be a large % difference Month over Month summary number to place on your dashboard:

If you would then like to hide the table from the dashboard, you can click on the green circle and choose “Hide Data Source”:

Please Segment Responsibly
When Adobe Analytics added the ability to segment your calculated metrics, they opened the door to analysis that I did not even think was possible, given the limitations of the reporting interface.
Combining the freedom of Analysis Workspace with the power of segmentation, calculated metrics are now one of the most powerful features available in Adobe Analytics.
Want to dive deeper? Check out this massive 51 page calculated metrics resource (PDF) from Adobe Analytics with FAQs, How To Videos, explanation of unified calculated metrics, and more.
Let us know if you have any questions or comments about calculated metrics builder, analysis workspace or other related Adobe Analytics analysis.
Related Insights

Digital Analytics


Digital Analytics


If you have questions or you’re ready to discuss how Blast can help you EVOLVE your organization, talk to an Analytics Consultant today.
Call 1 (888) 252-7866 or contact us below.